Change Your Area with Interior Painting Irving Texas
Wiki Article
Seamless Transitions: Professional Drywall Repair Work Techniques to Accomplish a Refined and smooth Look
Are you tired of looking at those unattractive fractures and holes in your drywall? Look no more - this short article has got you covered. We will guide you through the seamless changes and specialist strategies required to attain a smooth and sleek look for your walls. From preparing the surface area to using the last coat of joint compound, you'll find out all the detailed directions to make your drywall look new once again. So roll up your sleeves and prepare to change your area with these professional drywall repair strategies.Preparing the Surface Area
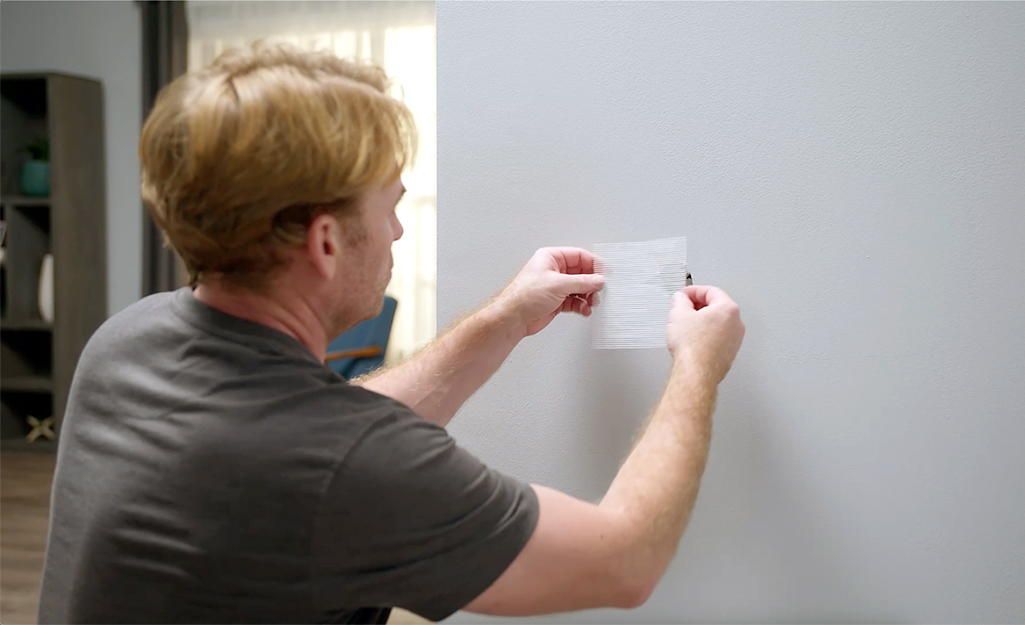
Before you begin repairing the drywall, make sure you've thoroughly cleaned the surface area to get rid of any kind of dust or particles. When the surface area is clean, allow it to dry completely before continuing with the repair work. Keep in mind that a clean and smooth surface area is essential for an effective drywall fixing, as any kind of continuing to be dust or debris can affect the attachment of the patching product.Patching and Filling Holes
When you've patched and filled up openings, fining sand the area will produce an extra also surface area. Sanding is a vital action in achieving a sleek and smooth search for your drywall repair. It helps to mix the patched areas with the remainder of the wall, making sure a smooth change.
To start, you'll need to gather the required tools: a sanding block or sandpaper, a vacuum, and a dirt mask. Place on your dirt mask to secure on your own from breathing in any kind of dirt fragments that might be launched throughout the fining sand procedure. Affix the sandpaper to the fining sand block or utilize it straight with your hand, making sure a company hold.
Beginning fining sand the covered locations utilizing light to moderate pressure. Move the sandpaper in circular motions or back and forth, depending on the uniformity of the wall surface. Watch out for any kind of irregular areas or rough edges and concentrate on smoothing them out. As you sand, regularly inspect the surface with your hand to ensure it really feels smooth to the touch.
As soon as you've finished the sanding procedure, use a hoover to get rid of the dust particles from the area. This will certainly prevent the dust from working out back onto the surface and spoiling your effort. Take a minute to evaluate the sanded area and make any needed touch-ups before carrying on to the next action.
Using the First Coat of Joint Substance
To begin applying the first coat of joint compound, collect the required tools and make certain you have a smooth and also surface area to work with. This action is essential in achieving a seamless coating for your drywall repair. Begin by gathering your products: a putty knife, a drywall sanding block, and a container of joint substance. It is necessary to have a putty blade with an adaptable blade to conveniently spread the substance. Before you begin, evaluate the area you will repair. Guarantee that there are no loosened or protruding items of drywall. Make use of a sanding block to smooth them out if you observe any kind of flaws. Once you have a tidy and also surface area, dip your putty knife into the joint substance and tons it up. Begin by applying Read More Here a thin layer of substance over the damaged location, making use of smooth and also strokes. See to it to feather the substance out past the sides of the repair work to mix it perfectly with the bordering wall. After the very first coat is used, allow it to completely dry entirely prior to carrying on to the next step.Sanding and Smoothing the Surface Area
Smooth out any type of harsh spots or bumps on the surface area by making use of a fining sand block. When you determine these places, get your sanding block and delicately sand the surface area. This will aid to level out any kind of high spots and produce a smooth surface area for the next coat of joint substance.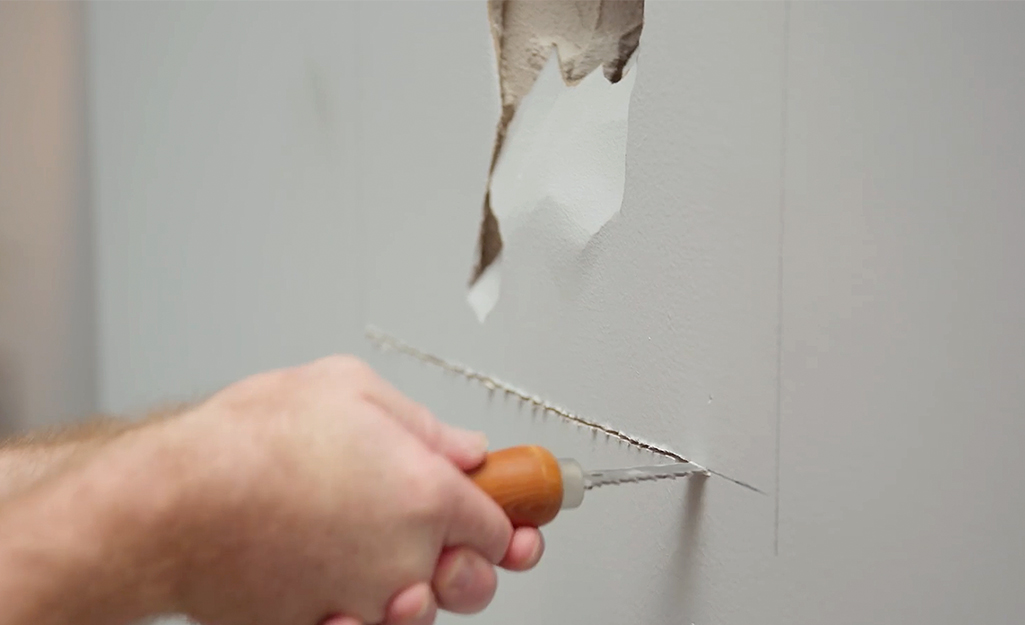
After fining sand, run your hand over the covered areas to examine for level of smoothness. Repeat the sanding procedure up until the surface area feels completely smooth if you still really feel any harsh patches. When you're pleased with the results, clean away any dirt with a clean, moist cloth or sponge.
Completing Touches: Priming and Paint
After wiping and fining sand away any dirt, it's time to prime the surface before using paint. Priming is a vital step in accomplishing a specialist and resilient finish for your drywall fixing. By applying guide, you create a smooth and even base that aids the paint adhere much better and guarantees a regular color throughout.To start, gather your products: a top notch guide, a paintbrush or roller, and a tray. Ensure the surface area is completely dry and clean before beginning. Open up the guide can and give it a great mix to blend the contents completely.
Dip your brush or roller right into the guide and remove any type of excess by lightly touching it on the side of the tray. Beginning applying the primer in smooth, even strokes, functioning inside out. See to it you cover the entire repaired area and expand a little past it to blend with the surrounding wall.
When dry, check the surface for any type of imperfections. If needed, gently sand any kind of rough spots with a fine-grit sandpaper and wipe away any kind of dirt before proceeding to the following action.
Currently, you prepare to apply the paint! Choose a premium paint that matches the existing wall shade. Use it likewise as the guide, utilizing smooth and even strokes. Depending on the shade and sort of paint, you may require to apply numerous layers for full insurance coverage. Enable each coat to completely dry totally before using the next.
Final Thought
By following these steps, you can flawlessly shift from a harmed wall to a perfect surface area. Keep in mind to effectively prepare the surface, spot and load any type of openings, apply numerous coats of joint compound, and sand and smooth the surface area.As you sand, periodically inspect the surface area with your hand to guarantee it really feels smooth to the touch.
Smooth out any kind of rough patches or bumps on the surface area by utilizing a sanding block. Once you identify these places, get your sanding block and delicately sand the surface area (interior painting Irving Texas). If you still really feel any harsh spots, repeat the fining sand process up until the surface area really feels entirely smooth. Remember to dig this effectively prepare the surface area, patch and fill any openings, use multiple coats of joint compound, and sand and smooth the surface area
Report this wiki page